Framing Tutorial – Pin Method
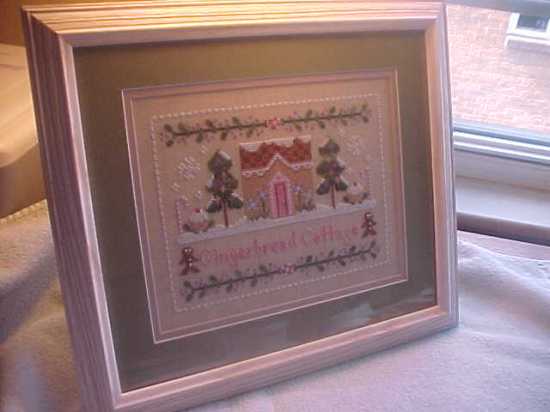
July 14, 2008 at 5:29 pm | Posted in cross stitch | 14 CommentsAs promised, I framed my Gingerbread Cottage today and took pictures of the process to perhaps aid those interested in doing their own framing. This method utilizes the pinning method as opposed to the lacing method.
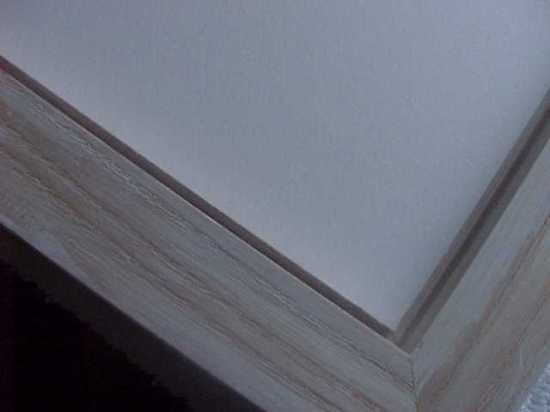
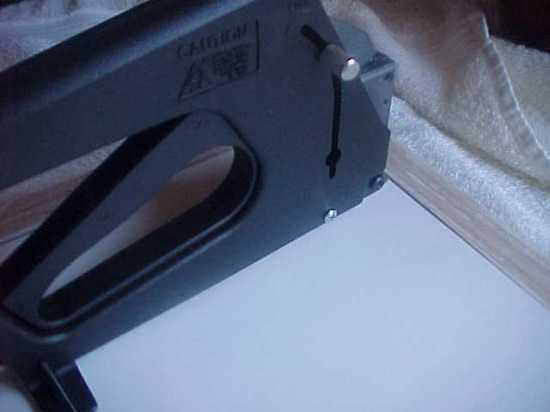
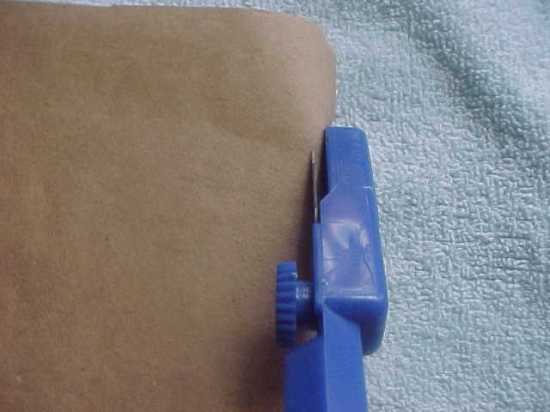
Doing your own framing is not difficult, nor very expensive. The most expensive tool required is a Point Driver which runs about $75.00 and is pictured below on the far right. Mine is made by Fletcher and is called the Fleximaster. You will require acid free foamcore which comes in two thicknesses – single and double. The double thickness is about 3/16″ thick. Single thickness is 1/8″ in thickness. Foamcore board is as the name implies – a thin core of foam sided with thin matboard like material. The thickness of the foamcore that you use is dependent on the width of the rabbet on your selected frame. The rabbet is the depth of the frame that you plop everything into – your glass, mats, pinned needlework on foamcore, and scrap matboard backing.
Occasionally I use “spacers” which are hollow plastic squared tubes that are placed at the edge of the rabbet in between the frame and your needlework. It’s purpose is to prevent the glass from setting directly on your needlework either because you have might have materials that stick up, like JABCO buttons, or you aren’t using mats and your needlework needs to “breathe”. I have elected not to use spacers on this piece because I’m using a double mat which provides enough breathing room. And I’m using single foamcore because the depth of my rabbet isn’t all that accomodating. I have bought foamcore from the online store listed at the bottom of the tutorial and just purchased 2 large thin pieces from my LNS at a cost of $7.50/ea. My LNS charges me just slightly more than their cost which is awfully nice of them. I purchased the glass, mats and frame from them and my bill was under $50.00, so with some time and a few materials I can have a framed piece that would cost over $100.00 for someone else to do. BTW, I just recently saw acid free foamcore at Michael’s in the art section by the poster board. The sheets are 32″ X 40″ and would be a good deal with a 40% off coupon!!
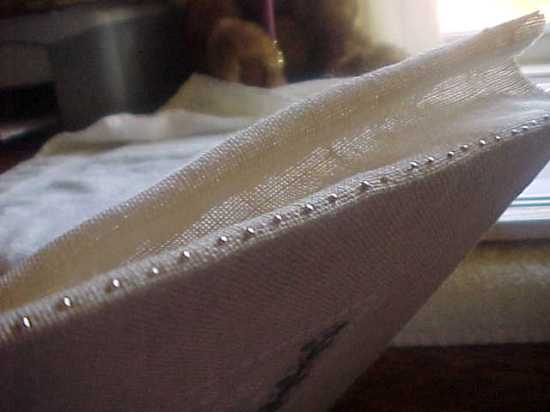
Pictured below are some of the tools needed for this framing job. Your frame, glass, mats, cleaned and pressed needlework, cutting mat, pins, ruler, pencil, scissors, assorted job cutting Xacto knives, hammer, pins, double sided tape, artist’s tape, and a point driver. Pins used in this application are NOT straight pins. Well, they are straight pins, lol, but they don’t have a head on them like regular straight pins which are kind of knobby and convex. The head on the pins we use is flat and they aren’t quite as long as a regular straight pin. They also need to be nickel plated because of the rust issue. They are available in any craft or fabric store.
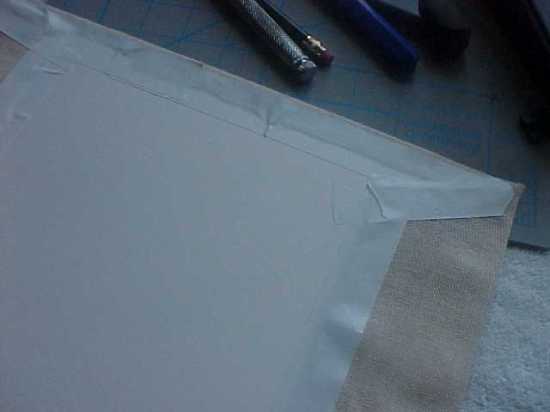
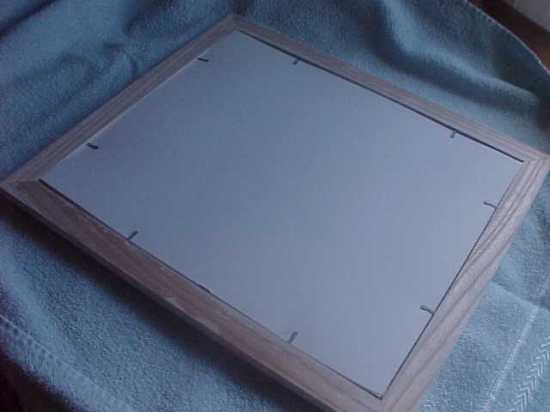
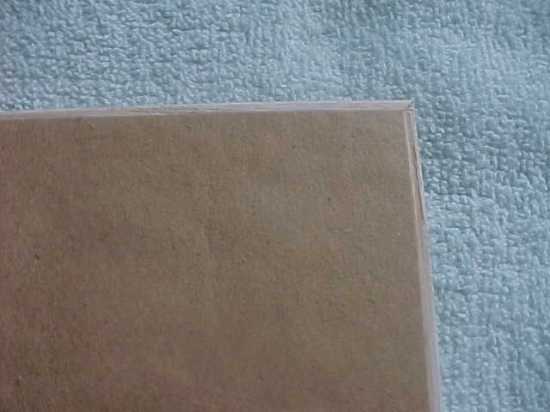
Start with a clean protected workspace, using towels or something soft and cushiony to protect your frame from scratches and to capture wayward pins. Measure the length and width of the inside of your frame and cut your foamcore approximately 1/8″ less than measured to allow for the material and pins on the edge. The foamcore is cut on my cutting mat using the gray tool marked Xacto in the tools picture above. It is made specifically for cutting foamcore and like materials. There is a small knob on the underside that loosens the blade and will allow you to move it up and down as needed for the depth of what you’re going to cut.
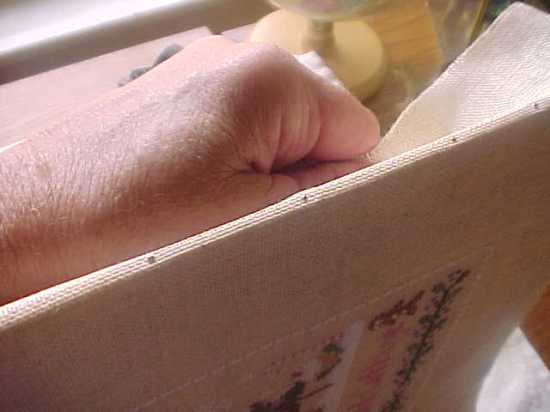
I really don’t have a precise scientific method for centering my needlework on my foamcore board. I kind of eyeball it and start pinning, adjusting as necessary. This is the most critical and time consuming part of the whole process. I pin, unpin, place it in the frame with the mats, measure, pin, unpin. You get the idea. You need to have the same amount of threads showing all around and your vertical and horizontal thread lines need to run parallel to the edges of your mats. Stretch as you pin, making sure that you stretch straight outwards and not to either side or you will end up with it stretching sidewickered. I place my pins about 1/4 inch apart.
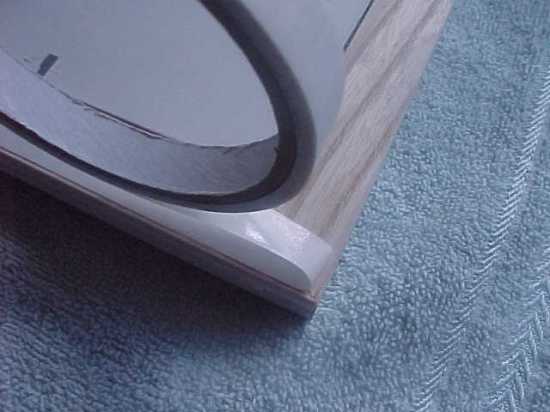
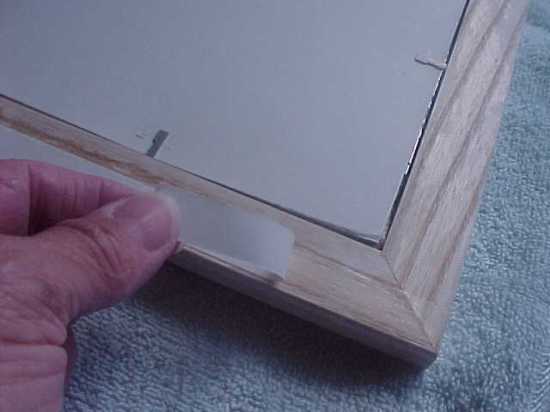
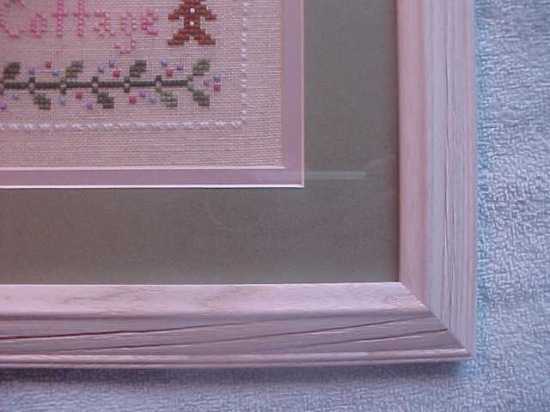
All that’s left to do is attach your hanger and optional rubber bumper pads to the four corners to protect the walls.
Hope you enjoyed my tutorial!! I had fun making it.
BTW, I use www.framingsupplies.com if I can’t buy locally. Not affiliated, just a satisfied customer.
14 Comments »
RSS feed for comments on this post. TrackBack URI
Leave a reply to Latest Sewing Tips ...new Cancel reply
Blog at WordPress.com.
Entries and comments feeds.



Awesome tutorial! Thank you so much for that. Your gingerbread cottage is beautiful. i love how you matted it and the frame is a perfect compliment to it.
Comment by suzann— July 14, 2008 #
Lovely framing, Carol. As you can see on my blog, I couldn’t resist and started Gingerbread Cottage. I blamed it on you for your work is too pretty ^.^ Thanx for the tutorial.
Comment by vEr0n!c@— July 14, 2008 #
Great framing tutorial. When I framed years ago I used the lace method but will give the pins a try when I finally get around to framing some pieces. The gingerbread cottage looks awesome in the frame.
Comment by Irene— July 14, 2008 #
Well!!! You make it seem so easy…I think I’m going to Michael’s today!
Thank you for your well written and totally awesome Tutorial!
To extend the favor back to you…I have a tutorial blog too…come to my blog and you can see the different ones I have made…
links from my main blog: http://thetwistedstitcher.blogspot.com
Thank you again, I’m definitely going to use this in the future!
Comment by Vonna— July 15, 2008 #
That is a great framing Tutorial. Thanks for sharing.
Comment by Mylene— July 17, 2008 #
Wow…that is a beautiful framing…and perfect tutorial
Comment by Nima— September 16, 2008 #
Thanks for the tutorial have been trying to find how to info for a long time.
Comment by Pat— September 26, 2008 #
Great tutorial!
Comment by Meari— November 14, 2008 #
Thank you so much, Carol! Very professional. I have a point driver. Now I just need a good cutter for the foam core board. I have always used sticky boards and I think your method may be better.
Your Gingerbread Cottage is so pretty!
Comment by Ashrei Steyskal— November 14, 2008 #
Thanks you muchly, Carol. I have a lot of cross stitch to frame and I definitely will be trying out your method. It is the best and easiest that I have heard about yet. Will let you know the outcome!
Lyn, Acacia Ridge Qld
Comment by Lyn Cosgrove— September 6, 2011 #
you are in point of fact a just right webmaster. The site loading speed is incredible. It sort of feels that you are doing any unique trick. In addition, The contents are masterpiece. you have performed a wonderful process in this subject!
Comment by Mieszkania Gocław— March 8, 2012 #
If you want to do your own stitching and have no idea about how to go about it, there are some easy tips you can follow that will make it easier for you to make any dress you want. Read more at:
http://celinedupuy.com/?p=254
Comment by Latest Sewing Tips ...new— November 20, 2012 #
Needing to know specifically what the name of the pins used. You say they’re available in any craft store but I don’t know what I’m looking for and are they in the sewing section?
Comment by Linda— July 11, 2017 #
I’ve done framing before. I was taught silk pins can be used. A package I have here is Dritz (200 silk pins) Size/No. 17. 1-1/16 in. Joann’s or a store like that, would carry them. I hope this helps you. 😊
Comment by Mary— September 14, 2017 #